Tuesday, December 27, 2016

Continuous integration Automation : Eclipse -> Git & GitHub -> Jenkins

DevOps - Continuous integration Automation with Eclipse, Git & GitHub & Jenkins


Create a new java project in Eclipse -> Add an object in the new Java project -> Add a class in the object -> Write some working code in the class ->


Add the project in local Git repository -> Make some changes in the java code -> Commit the changes in local Git repository using option right click the java project -> Select team -> Press commit -> Update details in Git staging window -> View the commit done in history window ->


Create a remote repository in GitHub from Git Repositories window of Eclipse -> Push the committed change of local Git repository in the remote GitHub repository ->


Create a freestyle project in Jenkins -> Select SCM option as Git and update local Git repository address as repository URL in the Jenkins project configuration ->


Add a Jenkins server in Eclipse using build window -> Select a build job -> Run the build from Eclipse.


Triggering a Jenkins job from an external script


Update the Jenkins build job configuration with option -> trigger build remotely and adding the authentication key ->

Create a post commit script in hooks folder of the Git -> Add following command – “curl --user : ?token=” in the post commit script -> Add a change in the local Git repository master from command line -> Commit the change from command line -> Git commit will execute the Jenkins job.


Wednesday, December 14, 2016

DevOps (Continuous Deployment) - Docker with Puppet

Docker : Containerization Platform -

Docker containers wrap up a piece of software in a complete filesystem that contains everything it needs to run: code, runtime, system tools, system libraries – anything you can install on a server. This guarantees that it will always run the same, regardless of the environment it is running in.

Solomon Hykes started Docker as internal project at dotCloud in France. 1st release of Docker happened in March 2013.

Installing Docker -

Docker is available to download from https://www.docker.com. Download dmg(mac)/exe(Window) file -> Double click and follow the instruction -> Once installed correctly running docker can be viewed in your system tray ->


Kitematic : Running Containers -

Click - open Kitematic -> Kitemitcs will show the list of docker images available to create -> click 3 dots beside the create button -> click ‘view on docker hub’ —> it’ll open a link about how to create, configure, start and stop a specific docker image application ->


Select an image -> Click create -> Kitematic will install the image and start application with default setting - Configure the application as per your requirement -> Multiple containers can be created with one application running in each. Applications within the containers can also communicate to each-other.


Puppet : Configuration Management -

Puppet is a Ruby based configure management tool initially released in 2005. Docker image can be managed & Docker containers can be run using puppet (puppet apply & puppet agent).


Gareth Rushgrove has created a useful puppet resource on installing & managing docker - https://forge.puppet.com/garethr/docker.


Thursday, December 8, 2016

DevOps (Continuous Integration) – Selenium & Cucumber using Maven in Jenkins

Selenium – Automated Testing Framework

Selenium is an open source automated testing software for web application released under Apache 2.0 license. Earliest version of Selenium tool was developed by Jason Huggins in 2004. Later, many people contributed in bringing the Selenium testing tool to its current level.

Selenium download is available at http://www.seleniumhq.org. It’s needs to be configured in IDE like eclipse & visual studio to be used.

Configuring Selenium in Jenkins –

Selenium testing job can be configured in Jenkins as freestyle or Maven project. In freestyle project Selenium job is executed through shell script running the testng.xml. Selenium testing as Maven project in Jenkins is done using pom.xml.

Freestyle Project ->

Create a Java project in Eclipse using option -> New -> Java Project -> Update Project Name -> Click Libraries -> Add External Jars -> Select Selenium-Server-Standalone Jar file -> Add Library – Select TestNG – Click Next – Click Finish – Click Finish ->


Create a script file (mac)/bat file (window) in the project directory using syntax – “java –cp bin;lib/* org.testng.TestNG testng.xml” and save the file in same directory locally.


Create a freestyle project in Jenkins using option –> New Item -> Update project name -> Select Freestyle project -> Press ok -> Click advance under General -> Select custom workspace ->update project home directory in the directory field ->


Next step , under build ->Press Add build step -> Select “Execute shell” -> Update script file name in the command field -> Press apply ->Press save ->


Now, a freestyle selenium project is ready to build in Jenkins.

Maven Project ->

Verify & insure your Eclipse have Maven and TestNG plugins installed -> Create a Maven project in Eclipse using option New -> Project -> Select Maven Project -> Click next -> Check “Create a simple project” -> Click Next -> Update group ID field –> update artifact ID field -> update name -> update description -> click finish ->


Update the pom.xml file with necessary Selenium & testng dependencies and testing.xml file location detail->


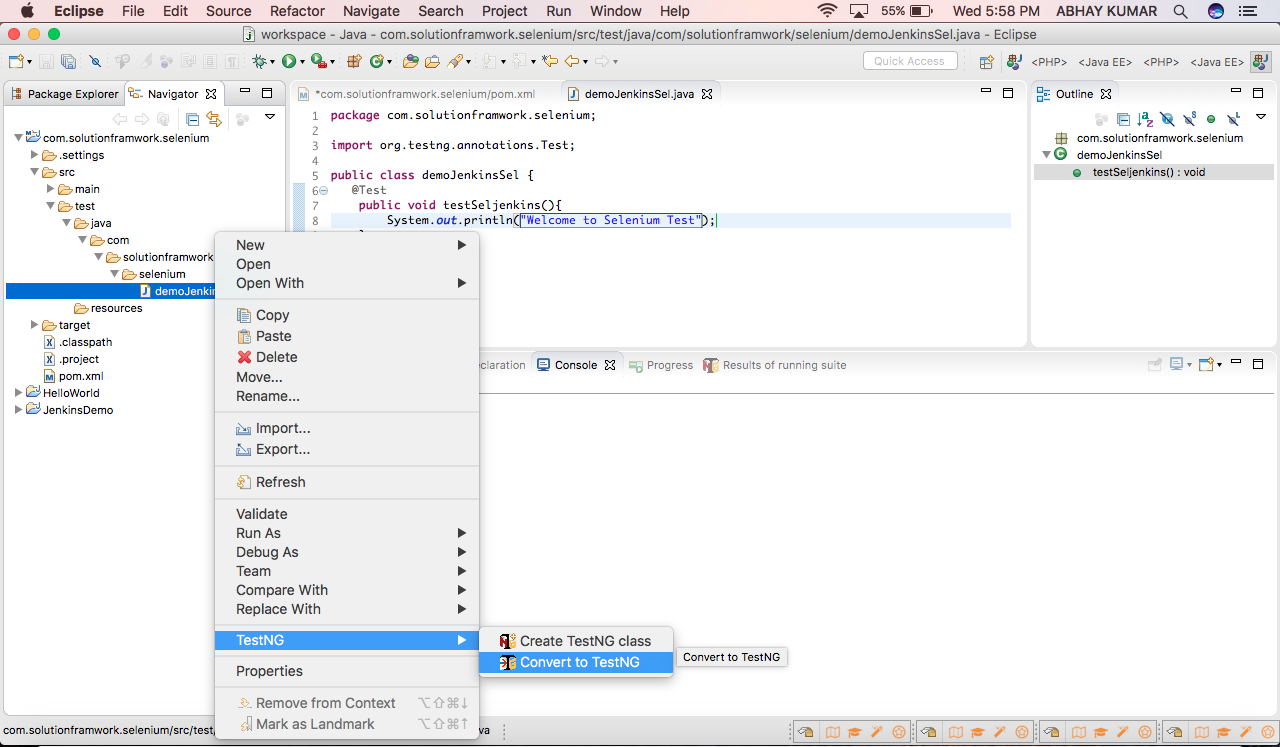
Create a test program & generate testng.xml using right click test java class -> Select TestNG -> Convert to TestNG -> save testng.xml file as per pom.xml location specification ->


Next, in Jenkins -> Create New item – Enter an item name -> Select Maven project -> Press ok -> Update pom.xml location file in build section -> Press apply –> Press save.


Now, maven selenium project ready to build in Jenkins.

Cucumber – Behaviour Driven Development

Cucumber is automated testing tool written in behaviour driven development style.

Configuring Cucumber in Jenkins –

Create a project in Eclipse using option -> New -> project -> select Maven project -> press next -> check ‘create a simple project’ -> Press next -> Update group ID -> Update artefact ID -> Update name -> Update description -> Press finish ->


Open pom.xml file -> Update latest stable selenium, junit, cucumber-java, cucumber-junit dependencies in the pom.xml -> Press control^S ->


Install cucumber software update for eclipse from chttp://cucumber.github.com/cucumber-eclipse/update-site using option help -> install new software -> Create a feature file ->


Create a package and java class in src/test/java folder using option new package -> Name the package -> New class -> Name the class -> Add reference of the feature file in the class ->


Create a test step package and java class in src/test/java folder using option new package -> Name package -> New class -> Name class -> Create test steps as per the feature file and reference as ‘glue’ in the earlier defined class - >


In Jenkins, create new project using option -> New Item -> Enter an item name -> Select Maven -> Click ok -> Update location of the the pom-xml file in next page under build section-> Press apply -> Press save ->

Now, Maven-Cucumber project is ready to build in Jenkins.


Saturday, December 3, 2016

DevOps - Continuous Integration : SCM (Git, Github) -> Build Automation (Maven) in Jenkins

Git – Source Control Management

Linus Torvalds created Git in 2005. It’s a version control system freeware. Git works well with non-linear and distributed development. Git gives clone of full development history to each developer. It’s lightweight and support rapid branching & merging.

Git download is available at https://git-scm.com. Image file package installs Git into a default directory of (/usr/local for mac OS) the server with an option to change the directory.

Configuring Git in Jenkins –

Git is configured in CI tool Jenkins as default plugin. If not, it can be configured using option - manage Jenkins -> manage plugin ->


Click ‘available’ tab -> search & select Git plugin -> click ‘download now & install after restart’- submit button. This will configure Git in your Jenkins.


A project is created in Jenkins with Git as SCM using option – new item -> update project name as new item name -> select freestyle or maven project -> press ok ->


Select Git in ‘Source Control Management’ section -> update your Git repository URL in repository URL field -> press apply & save button.


Now, project is ready to build.

Github – Source Control Management

Chris Wanstrath, PJ Hyett & Tom Preston werner launched github in 2008 as repository hosting service which offer all the VCS & SCM functionality of Git with some additional features like bug tracking, wikis & task management.

Github url is https://github.com. It offers private and free repositories.

Configuring github in Jenkins –

Github is configured in CI tool Jenkins as default plugin. If not configured, it can be done using option - manage Jenkins -> manage plugin -> Click ‘available’ tab -> search & select Github plugin -> click ‘download now & install after restart’- submit button. This will configure Github in your Jenkins.

A project is created in Jenkins with Github as SCM using option – new item -> update project name as new item name -> select freestyle or maven project -> press ok -> update Github project URL under general Github project – project URL ->


Select Git in ‘Source Control Management’ section -> update your Github repository URL in repository URL field -> press apply & save button.


Maven – Build Automation

Maven is a build automation tool. Maven manages build, reporting and documentation using a project object model (POM).

Maven download is available at https://maven.apache.org. Image file package installs Maven into a local directory of the server by default.

Configuring Maven in Jenkins -

Maven is not available as default plugin in Jenkins. Maven is configured in Jenkins using option - manage Jenkins -> manage plugin -> Click ‘available’ tab -> search & select Maven integration plugin -> click ‘download now & install after restart’ submit button.

Then, manage Jenkins -> global tool configuration -> under JDK section update JDK version in JDK name -> update jdk location of your server in JDK_HOME ->


Under Maven update Maven version in Maven name -> update maven location of your server in Maven_HOME. This will configure Maven in your Jenkins.


A maven & Github project is created in Jenkins using option – new item -> update project name as new item name -> select maven project -> press ok -> update Github project URL in project URL field under general & Github project -> Select Git in ‘Source Control Management’ section -> update your Github repository URL in ‘repository URL’ field -> check ‘resolve dependencies during POM parsing’ under build section -> press apply & save button ->


Create POM xml with required instruction and save the POM xml file in the Github repository.


Now, a Maven Github project is ready to build.